Alternator replacement – 1993 VW Eurovan
My Eurovan has been acting “off”. Difficulty starting, headlights not working, and a plethora of other issues. I finally had some time to do some diagnosis. After buying a new battery, the issues persisted. The old battery was prob at least 5 years old and had been run down several times… so I figured that was a good place to start. I did try to trickle charge the old battery first, but no luck.
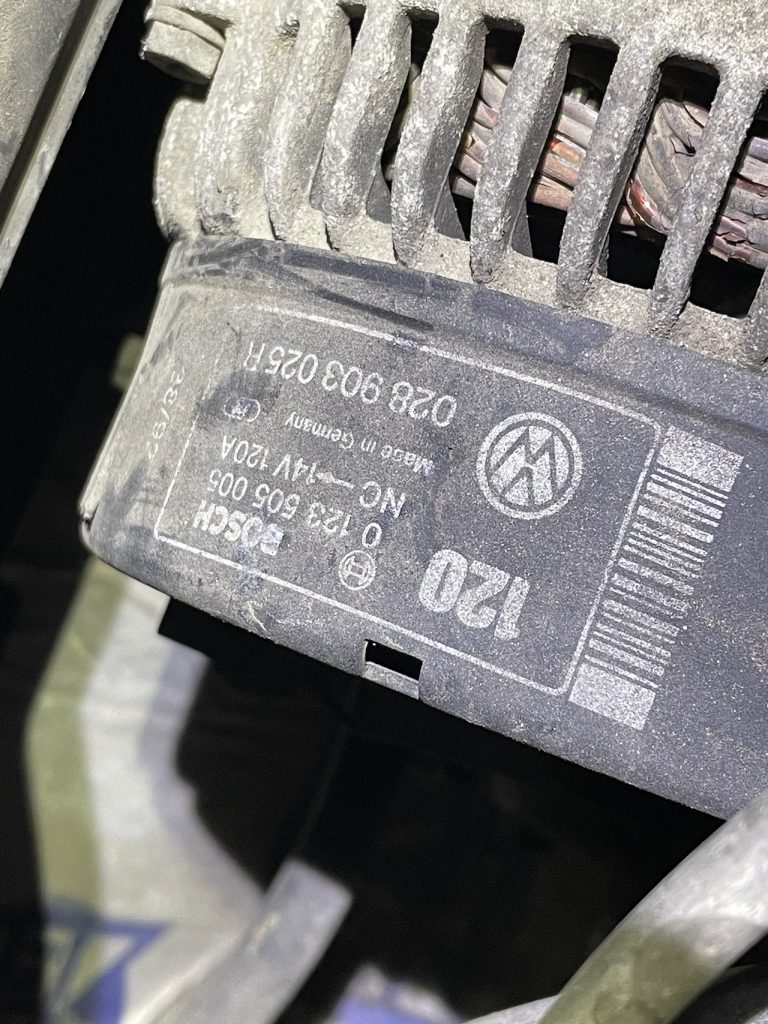
I installed the new battery and started the van. It had a very difficult time staying running. I tried again. Same thing. I tried again, and now I saw a little bit of smoke from the hood. I took a look, and there was an electrical smoke coming from the alternator. I can’t even remember if the alternator has ever been replaced. So it was the next item up. Due to the other issues with my van, I decided to go with an Amazon $99 alternator since I didn’t know where this journey would end… and the Bosch alternators are $225+ (and require core exchange).
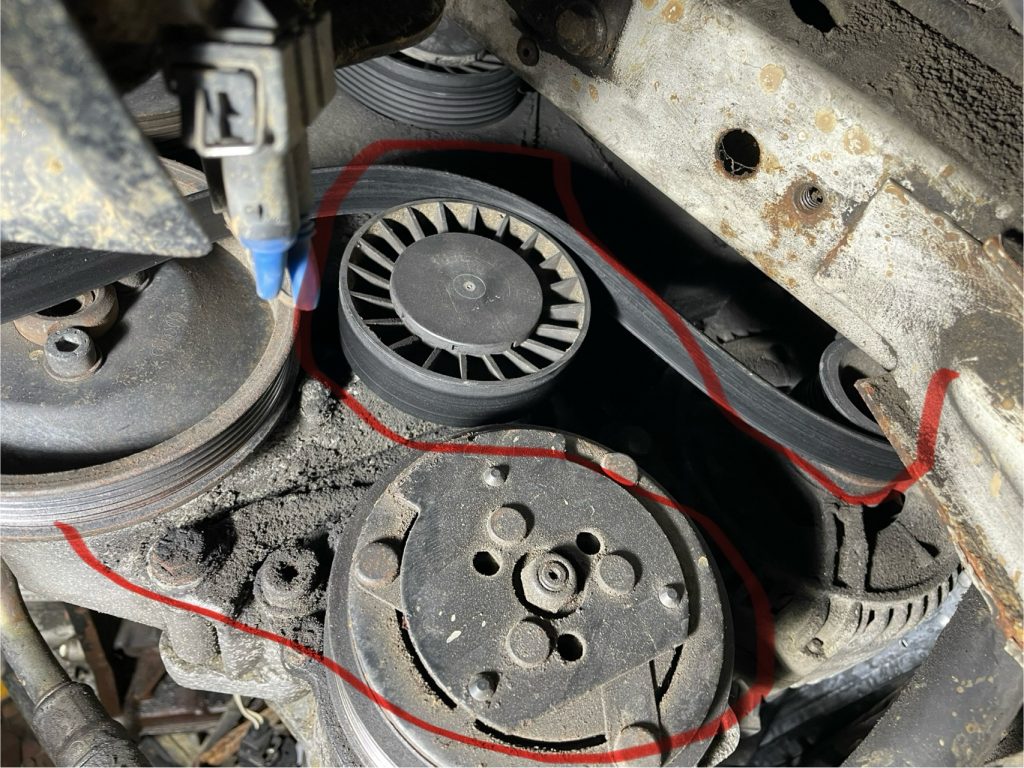
First, the serpentine belt had to come off. I watched Thomas EXOVCDS video just to confirm that is it muscle to get the belt off the pulleys. I also took a photo and traced the route of the belt so I could refer to it later (just in case).
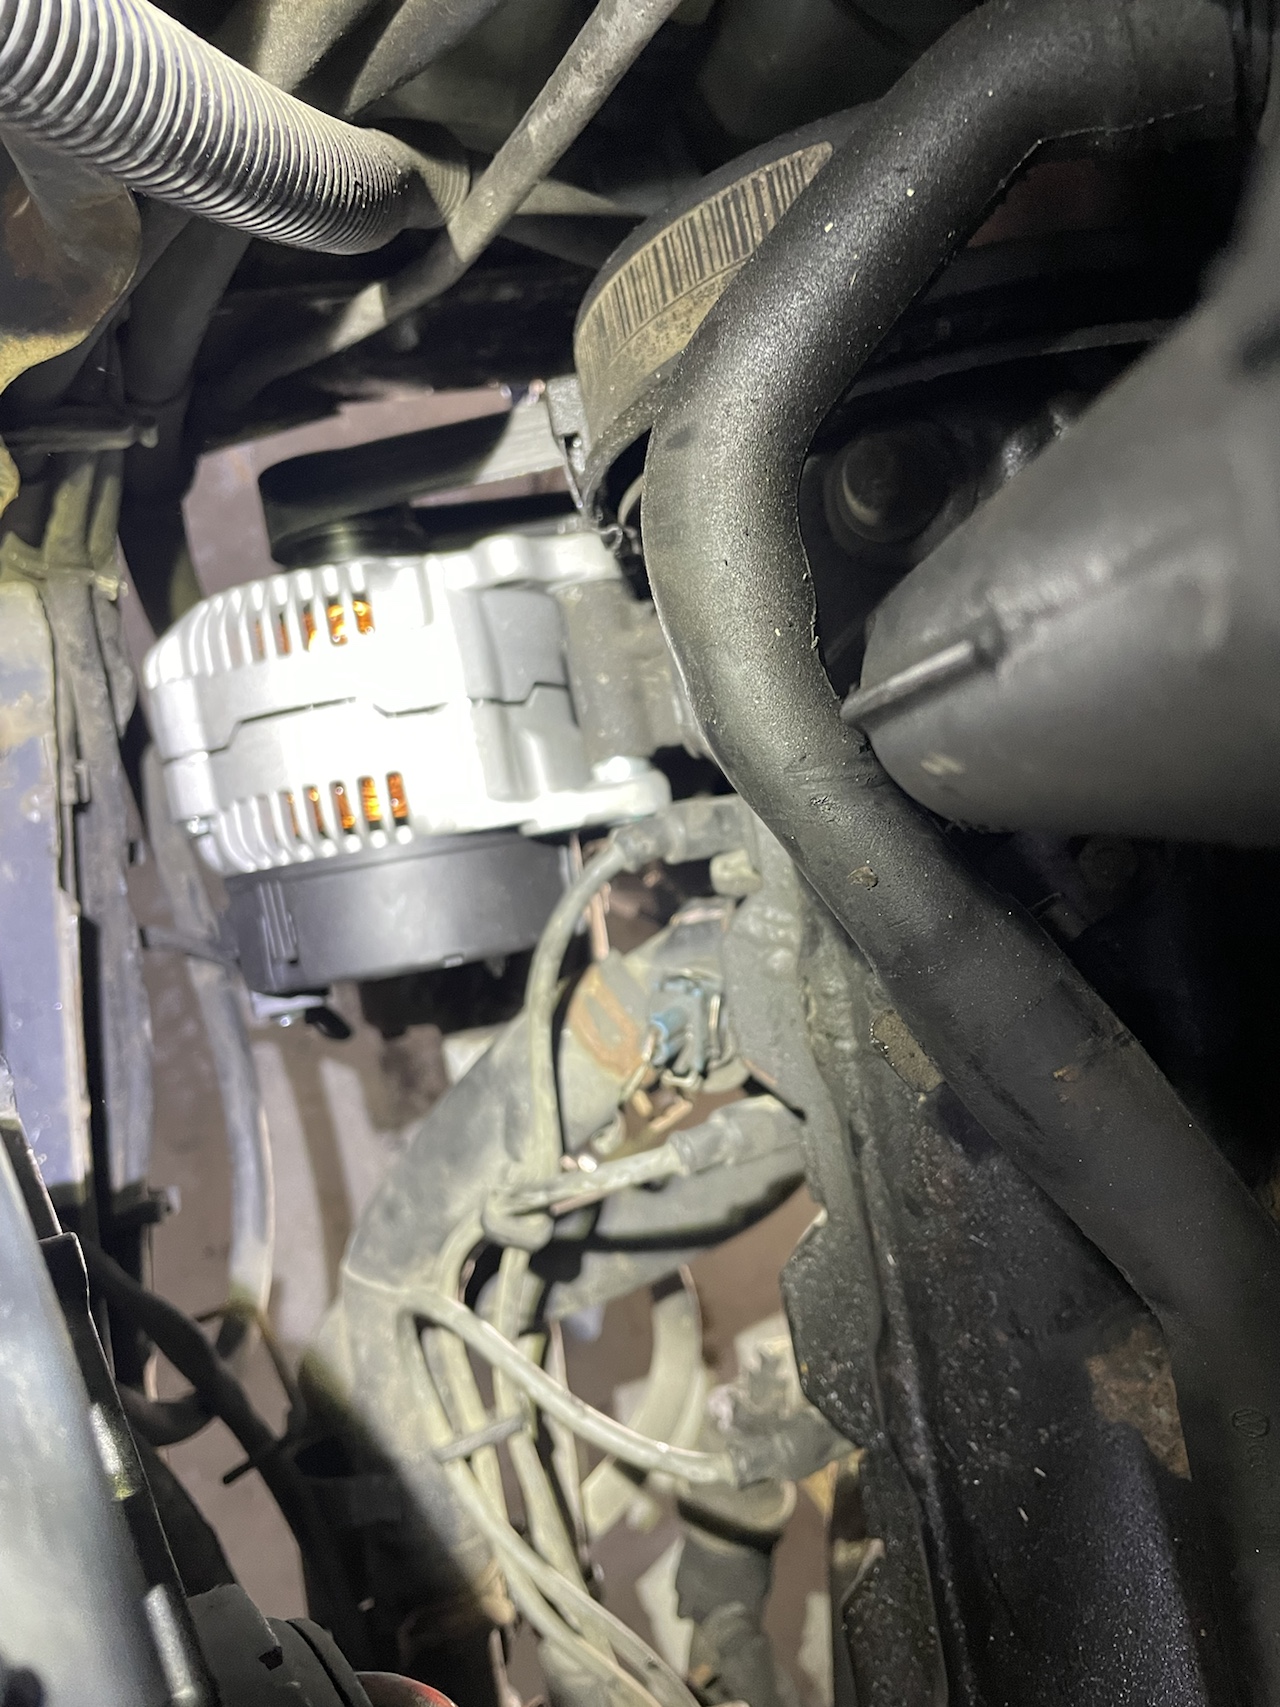
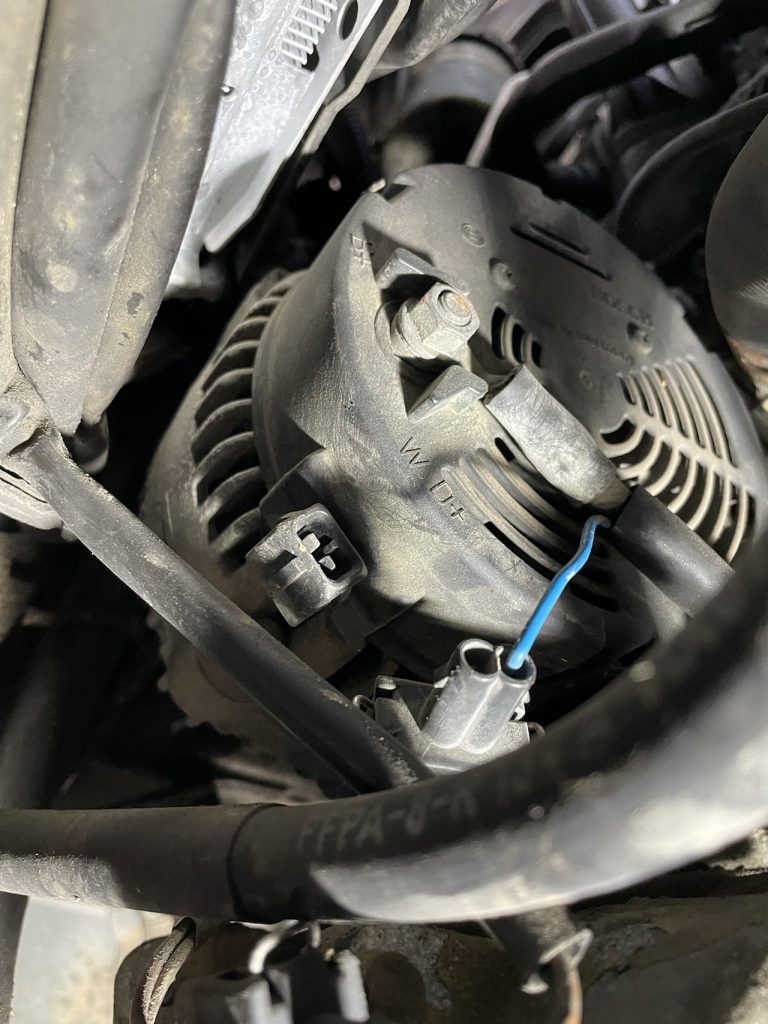
The removal of the old one was a bit tight to get the two securing bolts out, and I had to break them with a longer leverage bar. Once they were started, it was just a lot of turns (I’ve also just bought an cordless electric socket, always wanted one… wish I had it for this). The bolts came out ok, and then the task of getting the alternator wedged out required some muscle & a wedge bar/screwdriver to get it off the stays. to protect my arms from getting all scraped up. Next, I put the radiator in service position (good thing I’ve recently installed the hinges properly, before a garage had broken them and I never noticed). It took some finesse, gloves and a good shop jacket with long sleeves to protect my arms from getting scraped up… but I was able to remove it up the front/top. Putting the new alternator in was easier, and aligning it onto the stays is simple since the connectors are at a loose state in preparation for the bolts to tighten to the stays/mount points.
Installed and tightened the bolts, and then I had to muscle the belt back on and make sure it was aligned. All good. Test start. It started right up… but died again. Got out the VCDS and took some scans. But what was clear is that the electrical/starting was better. I then started researching the stalling issue. I got on the idea of a vacuum leak going to the MAP sensor in the ECU (in case your curious where it is). I removed the ECU to inspect and clean the area. AND I traced the vacuum hose, and it appears that my vacuum hose may have a leak. It is certainly worn thin. I’ll be completely removing it to take a closer look. Stay tuned.

Leave a Reply
You must be logged in to post a comment.